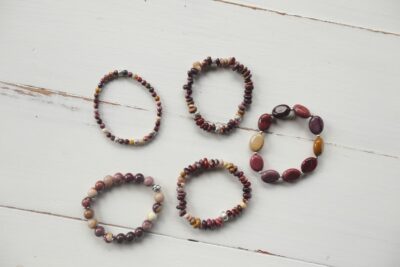
Friendship bracelets are very common today, especially for child friends who want to make memories. Teaching your child how to make a bracelet or learning how to do so yourself can go a long way to be fulfilling for you and your friends in the future. You must first make a few inquiries when intending to make a bracelet, for instance what to use and how exactly to use the same. You must have seen the wide range of bracelet designs and materials used, you have to choose the design you want and start laying down the guidelines for the process. If you are wondering how to make wool bracelet for your buddy, these are the tips for you to follow while at it.
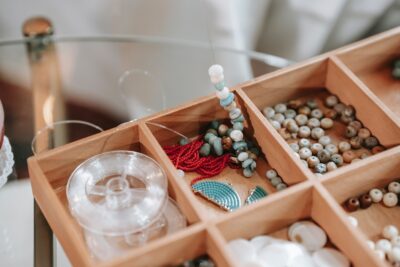
Craft Supply Needed
- Wool or embroidery floss
- Buttons
- Extra twelve inch floss thread
- Scissors
- Masking tape
Tips Worth Remembering During The Project
Make work station where you can arrange all the items you are using or need during the procedure. This mitigates the confusion at your place of work, especially when it comes to organization.
Take a break from knotting whenever you want, however you need to leave the progress in an easier state to resume your braiding and knotting process. You can therefore tape the strand of floss to another direction to separate it from other strands and make it easy to pick it up and resume where you left.
Block your stand to make it flat should it start to curl during the procedure. You will need to pull it once you are done after taping it to the table or work station you choose. To help the situation, spray it using water and allow it to dry before you remove the tape.
How Do I Get Started?
Step 1
Commence by taking measurements of your wrist first to determine the amount of wool that you will need to get started. By doing this you will get the measurement of the stand that you should pay attention to. The total amount of wool you have to work with should measure from your finger tips to your shoulder. It then has to be folded in half to create a loop using differently colored wool strands.
Step 2
Secure the end of the loop on your working station or table using a clip or masking tape to hold it onto position as you continue with the process of making it. You then have to pass the two separate strands of wool under each other to create the knots that you desire along the threads as you proceed with your bracelet making. You just have to find one cord over the other using the colors as guide to create a complete friendship bracelet.
Step 3
Add the button to one of the ends of the bracelet and pass the strands through its holes to make it hold in place. This is where you create the closing and opening mechanism for the bracelet you just made. The size of the button should be able to go through the first loop you created when starting the project.
Care Tips Your Friendship Bracelet
- Do not sleep in your bracelet – after a long day, there are people who go direct to sleep without removing either their jewelry or bracelet. This is never advisable as it may not only cause harm for you but the bracelet or jewelry item might also get damaged. Your irregular movements during sleep are not great for your newly made bracelet which is why you must remove it before retiring to slumber for durability and safety.
- Store them safely – you probably have different storage options to use when it comes to friendship bracelets. To ensure they all serve you for a long period of time, make a good storage area where they can be safe. Poor storage is among the leading reasons why items like bracelets might get damaged faster.
- Clean them appropriately – cleaning of items like bracelets is never easy as there are a lot of conditions you need to adhere to depending on the material it was made with. Do not insist in using a lot of water for cleaning unless the material supports it. Since glue is used in some designs, avoid too much sun especially when drying after you have cleaned them.
- Avoid stretching – most of the bracelet designs are made to exact or slightly bigger measurement of your wrist. It is only proper that you handle them with less force when removing and wearing them to avoid broken strands on the item. Any breakages might affect the pattern of the design and the strength of the bracelet to last.
Learning to make friendship bracelets is a meaningful way to create memories, especially when shared with children or close friends. Still, there are moments when a thoughtfully crafted bracelet makes gifting easier while keeping the same emotional value intact. DreamPigeon offers beautifully designed bracelets that reflect care, creativity, and connection, making them a great option when time is limited or when a polished finish is preferred. Whether handmade or carefully chosen, a friendship bracelet always holds value because of the bond it represents.