Making and appreciating friends is an ideal way of living a great social life. Most friendship thrives based on efforts put in by each of the friends. For most people this comes down to the quality of gifts that you get from a loved one. While many people welcome expensive gifts, many still cherish personalized gifts including custom made ones. To get ready for the procedure, you must find the right items to use for the procedure which you can shop online or from a store near you. Compiled in this guide are some of the steps and designs on how to make friendship bracelets for beginners.
Items You Need
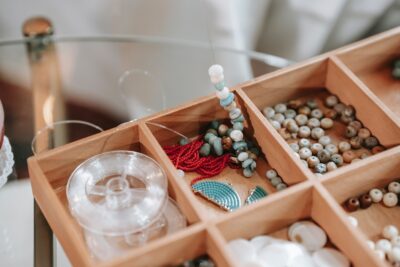
- Embroidery floss
- Thin yarn (substitute the floss)
- Safety pins
- Tapes
Measure And Get Right Cuttings
How do you know the right measurement to use for your project? Cut 30 inches of the cords you are using for the same. This only allows you to have enough floss to work with after you are done with the last knot. Supposing your bracelet is 5 inches in size, you must think of the numerous knots that will be made hence add extra 5 inches to the same. This will most importantly improve your speed of working through each color as you twist.
How Many Strands You Need?
What is the size of bracelet that you want for your wrist in terms of thickness? To achieve the regular size of about a quarter inch, you need to use about 6 strands even though the maximum you can use is 8 strands. In case there are any unnecessary wrappings during the procedure, blocking the bracelet might just help you get it in order.
Start The Bracelet
To commence the process, tie one end of the ropes you have selected and cut to equal lengths to form a knot at the end of the string. You will have to then braid three inches past the knot made on one end of the bracelet. You then need to proceed to the overhand of the strings and make a knot. A braiding and knot at the end of each stage of the rope will give you about 3-4 inches in between.
Now that you have different pairs with knotted ends, you should grab the first two strands and create your first row by moving it on the left side. Use the ends from the second strand to pass through the large knot you created, however release pressure at the first sign of resistance to allow for fluidity.
By creating another knot on the second bracelet, you make it easy to continue the pattern repeatedly. Each strand should have two knots to allow you to continue with the procedure as you achieve the desired thickness of the bracelet. You can also spot any area that you made a mistake in during the procedure and use your niddle to pick out the strands and fix. This will allow you to make the necessary changes without having to mess up the knots you had already made on the bracelet going up.
Finish Up The Bracelet
You have to make two knots between three inches braid at the end of the bracelet when you are finishing it up. You can then cut the unnecessary floss at the ends of the bracelet to have it ready for gifting or wearing. It is very easy for tying and untying of the same, especially when you want to avoid water contact with the bracelet. You can insert the first knot you made when starting out between the last two knots that you made for closing and opening of the bracelet.
Common Complications Experienced
- You have to determine the right amount of materials that you need for the project before starting it out. There remains a high chance of having insufficient materials to halt your project, especially when you are working with not so easy to find raw materials.
- Avoid haste when working on your bracelet as there are very many ways through which you can get distracted. Any distractions before you finish the project can lead you to making amateur blunders that might affect the quality of the work you are doing.
- Use guides from friends and resources like the internet to learn of different types of designs that people can use for making the right size and design of bracelet. The more you research on materials to use, knots to make and designs to follow, you become more informed on how to make even better bracelets for your loved ones.
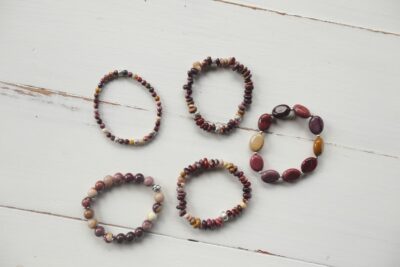
Friendship bracelets carry meaning because they reflect time, effort, and genuine emotion rather than just cost. While learning to craft your own bracelets is a rewarding experience, there are moments when a professionally designed piece fits the occasion better. DreamPigeon offers thoughtfully designed friendship bracelets that blend creativity with quality, making them ideal for gifting or personal wear. Whether choosing a handmade creation or a ready to wear bracelet, the value always comes from the connection it represents and the care behind the gift.