Bracelets have become a thing today with most from different age groups finding it a great addition to their daily dress code. When purchasing a bracelet gift for your loved one, there are different factors to check, for instance longevity, quality of appeal, material used and even the colors. Alternatively to buying, people can now make custom bracelets as gifts for their loved ones. All one needs is a list of items they should purchase and most importantly the instructions on how to get it done. Bracelet making creativity has driven many people to loom bands design which has taken the fashion scene by a storm. To make it easy, you will be guided in the details highlighted below on how to make loom bands.
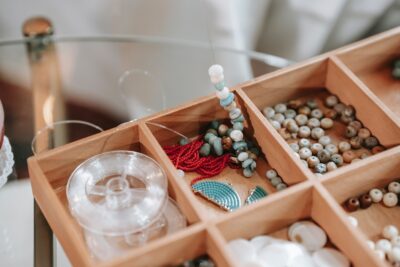
What Materials to Get
Bracelet length is determined by the circumference of your wrist which only means getting the measurements right is what you need to do. For a small child’s arm, you will need about 20 bands to use for the procedure of making the right bracelet. For an adult you need to get about 30 bands to fit the desired length or circumference of their wrist. Find a C-Clip to also use for the project and ensure the bands are of mixed colors to make a unique and colorful bracelet.
Twist The Bands To Form Shape 8
The first step to getting your project commenced is having a clip to hold the first band in place. You then have to fold the band into shape 8 and fold in half to form a circle. This makes it easy to pass the next band shaped similarly through the circle and completing the unit as more are added to it in a similar fashion. It is important that you get the first step right as it lays the structure for your whole project and any mistakes would mean starting again.
Repeat The Steps Until You Get Desired Length
Once you have understood the process, you only need to hold to the ready part of the bracelet as you add more bands to it to increase its size. You can always try out the bracelet on your other wrist to determine whether you have attained the right length of the same. When you make it to be too tight, it might end up restricting proper blood flow in your hands. A large or saggy bracelet might also be boring because of its inability to fit the recipient of the gift.
What About Fishtail Loon Bands?
In this design, you will need 30 bands to make a child bracelet and slightly over 40 bands to make one for an adult. The procedure is almost similar with the one used for making loom bands, however the difference lies in how the materials are used. You can employ either the S-clip for the project based on your preferences. You should use more than two colors for bands in order to transform the bracelet to fishtail design.
Step 1
You should start with wrapping three colored bands on your two fingers and creating shape eight with the first band underneath the other two. Be careful not to strain or stretch them as they may cause snapping which only culminates in losses. Pull the eight shaped band from below over the others releasing the circular sides to cover the other two. Add a clip to the center point of the bands on your finger and continue using the lower most bands to cover the ones on top of it until it starts to make a chain of bands. This makes it easier for you to create a stable link of bands to make the bracelet.
Step 2
Last part of the bracelet needs to be slid into the plastic clip that is fitted on the start of the bracelet. There are people who add modifications to the design to augment the length of the bracelet and even elongate it to make it a necklace for those that prefer it.
Conclusion
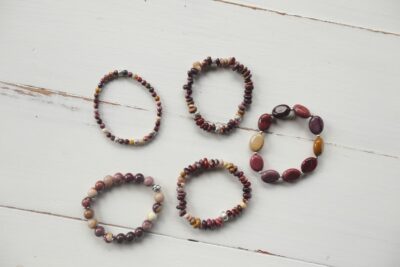
There are numerous other types of bracelets making material that one can use, for instance beads, strings and elastic cords. You need to compare their different attributes to determine the one best made for your needs. You can make it easier to choose the simple options like string cords first before you proceed to other complicated options.
For those who prefer ready made styles or want inspiration before starting a DIY project, DreamPigeon offers a thoughtfully curated range of bracelets designed for different age groups and occasions. From playful designs for kids to elegant options for everyday wear, the brand focuses on quality materials, lasting comfort, and modern appeal. Whether the choice is a handcrafted bracelet or a custom creation made at home, DreamPigeon reflects how personal style and creativity can come together naturally through jewelry.