The art of gifting does not come from abundance but from the small to big things one can do to make their loved ones feel appreciated and loved. In the search for the best friendships and relationships, people gift each other, especially during the special dates like wedding, birthdays and even promotion at work. Rather than investing in very expensive gifts, think small but impressive, for instance bracelets. Instead of buying bracelets, you can make them on your own sourcing ideas from those online. There are a lot of unique DIY bracelets you can make for yourself or your loved one but here is a guide on how to make knotted bracelets that you can use.
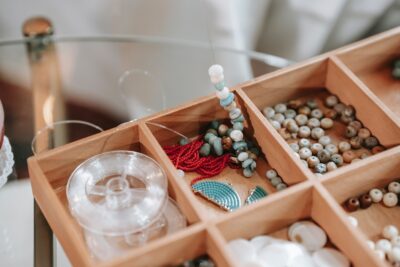
What Do I Need?
- Large needle
- Large spring clasp
- Measuring tape
- Pen
- Embroidery floss
- Maritime cord
- Cotton
- Large jump rings (optional)
- Iron on studs (optional)
- Paint brush and acrylic (optional)
Make Measurements And Cuttings
It is necessary to know your measurements if you are to get the perfect fit bracelet for your hand. You therefore need to measure the cord first to the desired readings and cut. To do this, you must wrap your cord around your wrist (the bony area) and get the measurement. Before cutting ensure the cord is not tight or lose by removing almost half an inch from it to tighten and adding half an inch to extend it. Getting the right measurement and cut is the first step to getting the desirable hand bracelet. It is after this that the cord is trimmed away in line with the clasp and you can use the same as the measuring cord.
Tying The Knot
From the cord you have, measure 22 inches and cut two similar pieces of exact length. Fold one of the cut cords into half and use tape to tape all its ends and repeat the procedure with the other remaining cord. To make a Carrick knot, make a loop with one of the taped cords. The masking tape end should be placed underside facing up. You can then place the underside of the first cord and place between the loops of the second cord. You also have to pass the underside of the second cord through the loop of the first cord. The result is having separate four ends that you are to pull for the tightening effect.
How To Make It Fit
Since you want the taped ends to be shorter than the other two extended ends, you need to cut the cords on the taped end side leaving them about 1.5 inches in height. At this point you need the separate measuring cord you cut initially to align to the new knot and ensure the knot is exactly at the center. You then need to fold the end of the looped ends in half along the measuring cord. Mark the area where the lopped ends meet with the taped ends after you fold them, then trim the marked point on both ends. Add the clasp to the side of your choosing and fold the piece after adding hardware to meet the shorter side of the cord. You can use glue to hold the attachment down and use tape to cover and add strength to the two separate areas on both sides.
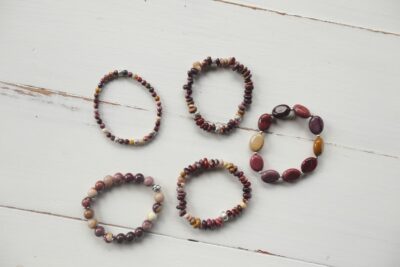
Finishing The Bracelet
At this point you already have your bracelet but the final touches matter just as much. You need to choose the right embroidery floss to use for covering the masked tape area up. Hold the tail against the tape and start wrapping to cover the square knot on it. You should also have a special knot to tie off the floss and hide the tail of the looped areas. You should do this on both sides of your bracelet before you choose to get creative with it.
How Do You Get Creative?
These are the slight adjustments that you make to your bracelet to make it stand out. There is a diverse list of embellishment you can check out beginning with studs for the aesthetics. You can also use paint to alter the color of the cord in different spots. A rhinestone chain is yet another fabulous idea that you can try to make your bracelet stand out. It always pays to be more unique and creative in your bracelet making, especially when you know it’s a gift for someone you love.
Handcrafted knotted bracelets beautifully capture the idea that meaningful gifts come from effort and intention rather than price. While creating a bracelet by hand adds a personal touch, there are times when a refined, professionally finished piece better suits the occasion. DreamPigeon brings together creativity and craftsmanship through thoughtfully designed bracelets that reflect connection, style, and sentiment. Whether gifting a DIY bracelet or choosing a carefully curated design, the true charm lies in celebrating relationships with something made or chosen from the heart.